Author: dennis bauser
STEP 2
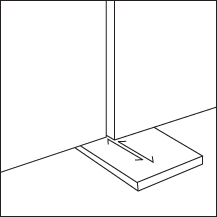
Adjusts the flats so that they are flush at the bottom and their faces are flush in front. Shims under the seam will be helpful on uneven floors.
STEP 1
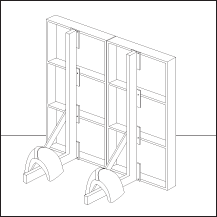
Place two jacked flats adjacent to each other.
STEP 4
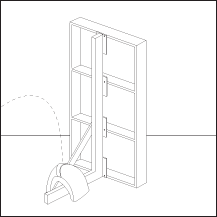
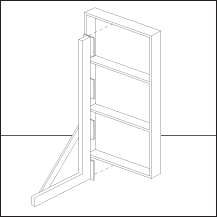
Place a sandbag securely across the foot of the jack.
STEP 3
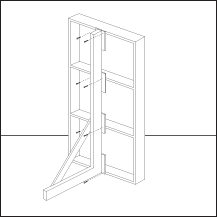
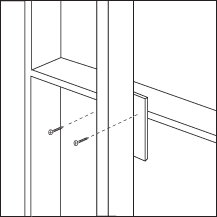
Continue to insert two screws through each plate on either side of the jack.
STEP 2
Using a screwgun, insert 1-5/8″ screws through the jack plates and into the edge of the plywood rib.
STEP 1
With the flat standing vertically, move the jack into position against the plywood ribs at the back of the flat.
STEP 5
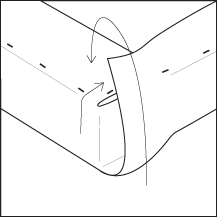
Staple the corners last by folding and tucking excess fabric away to form a “hospital corner”. Stand the wall up and reattach the jacks.
Why rent a set from Ready Set?
Our custom shop can build anything. But sometimes you need a set quickly and don’t have the budget or the need for custom fabrication. That’s why we rent smaller walls, floors, backdrops & shapes as well as sell mixed paint, paint kits and other supplies. (Of course if you want custom visit www.readysetinc.com)
STEP 4
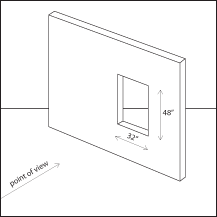
To describe the size of a window or door, first give its width, then its height. The window to the left is 32″x48″.
STEP 3
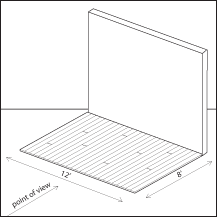
To describe the size of a floor, first give its width, then its depth. The floor to the left is 12’x8′.
