Category: HowTo
STEP 2
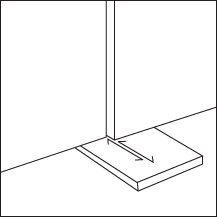
Adjusts the flats so that they are flush at the bottom and their faces are flush in front. Shims under the seam will be helpful on uneven floors.
STEP 1
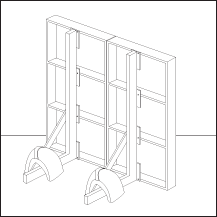
Place two jacked flats adjacent to each other.
STEP 4
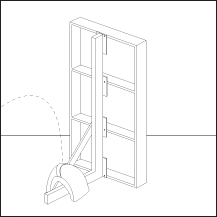
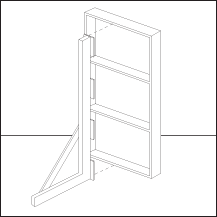
Place a sandbag securely across the foot of the jack.
STEP 3
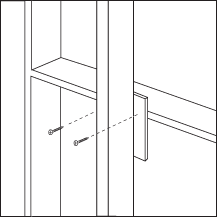
Continue to insert two screws through each plate on either side of the jack.
STEP 2
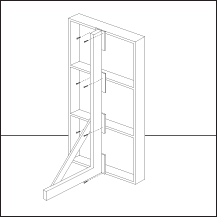
Using a screwgun, insert 1-5/8″ screws through the jack plates and into the edge of the plywood rib.
STEP 1
With the flat standing vertically, move the jack into position against the plywood ribs at the back of the flat.
STEP 5
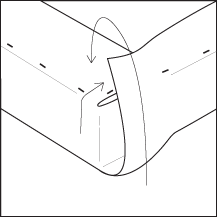
Staple the corners last by folding and tucking excess fabric away to form a “hospital corner”. Stand the wall up and reattach the jacks.
STEP 4
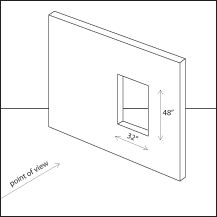
To describe the size of a window or door, first give its width, then its height. The window to the left is 32″x48″.
STEP 3
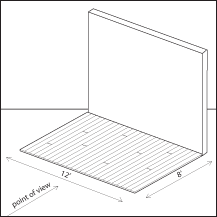
To describe the size of a floor, first give its width, then its depth. The floor to the left is 12’x8′.
STEP 2
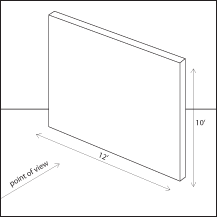
To describe the size of a wall, give its width, then its height. The wall to the left is 12’x10′.

